
Using Webflow professionals create websites and handle their management through an effective platform. Users sometimes need to erase their websites or end their Webflow account. The following guide shows step-by-step procedures to delete your Webflow website while explaining how to close your account completely. We will explain key procedures and debugging advice to achieve a smooth path.
Understanding Webflow Website Management
Before starting any deletion process it is essential to grasp Webflow's project management system. Webflow considers every built site as a "project." The knowledge of these structures helps users effectively deal with the Webflow dashboard for management purposes. Each project within Webflow operates independently using tools that are essential to understand before either deleting or archiving websites.
Webflow web accounts enable users to create several projects even if deleting one project will not impact the remaining ones. Webflow provides users with ownership transfer capabilities to authorize other users with access to their website projects. You should consider transferring project ownership instead of deleting it if you wish to provide someone else access to the website.
Deleting a Single Webflow Website
How To Delete Webflow Site
Log in to Webflow
Go to https://webflow.com/dashboard and log in to your account.
Select the Project (Website) You Want to Delete
The site you want to delete can be found within the dashboard interface.
Open Project Settings
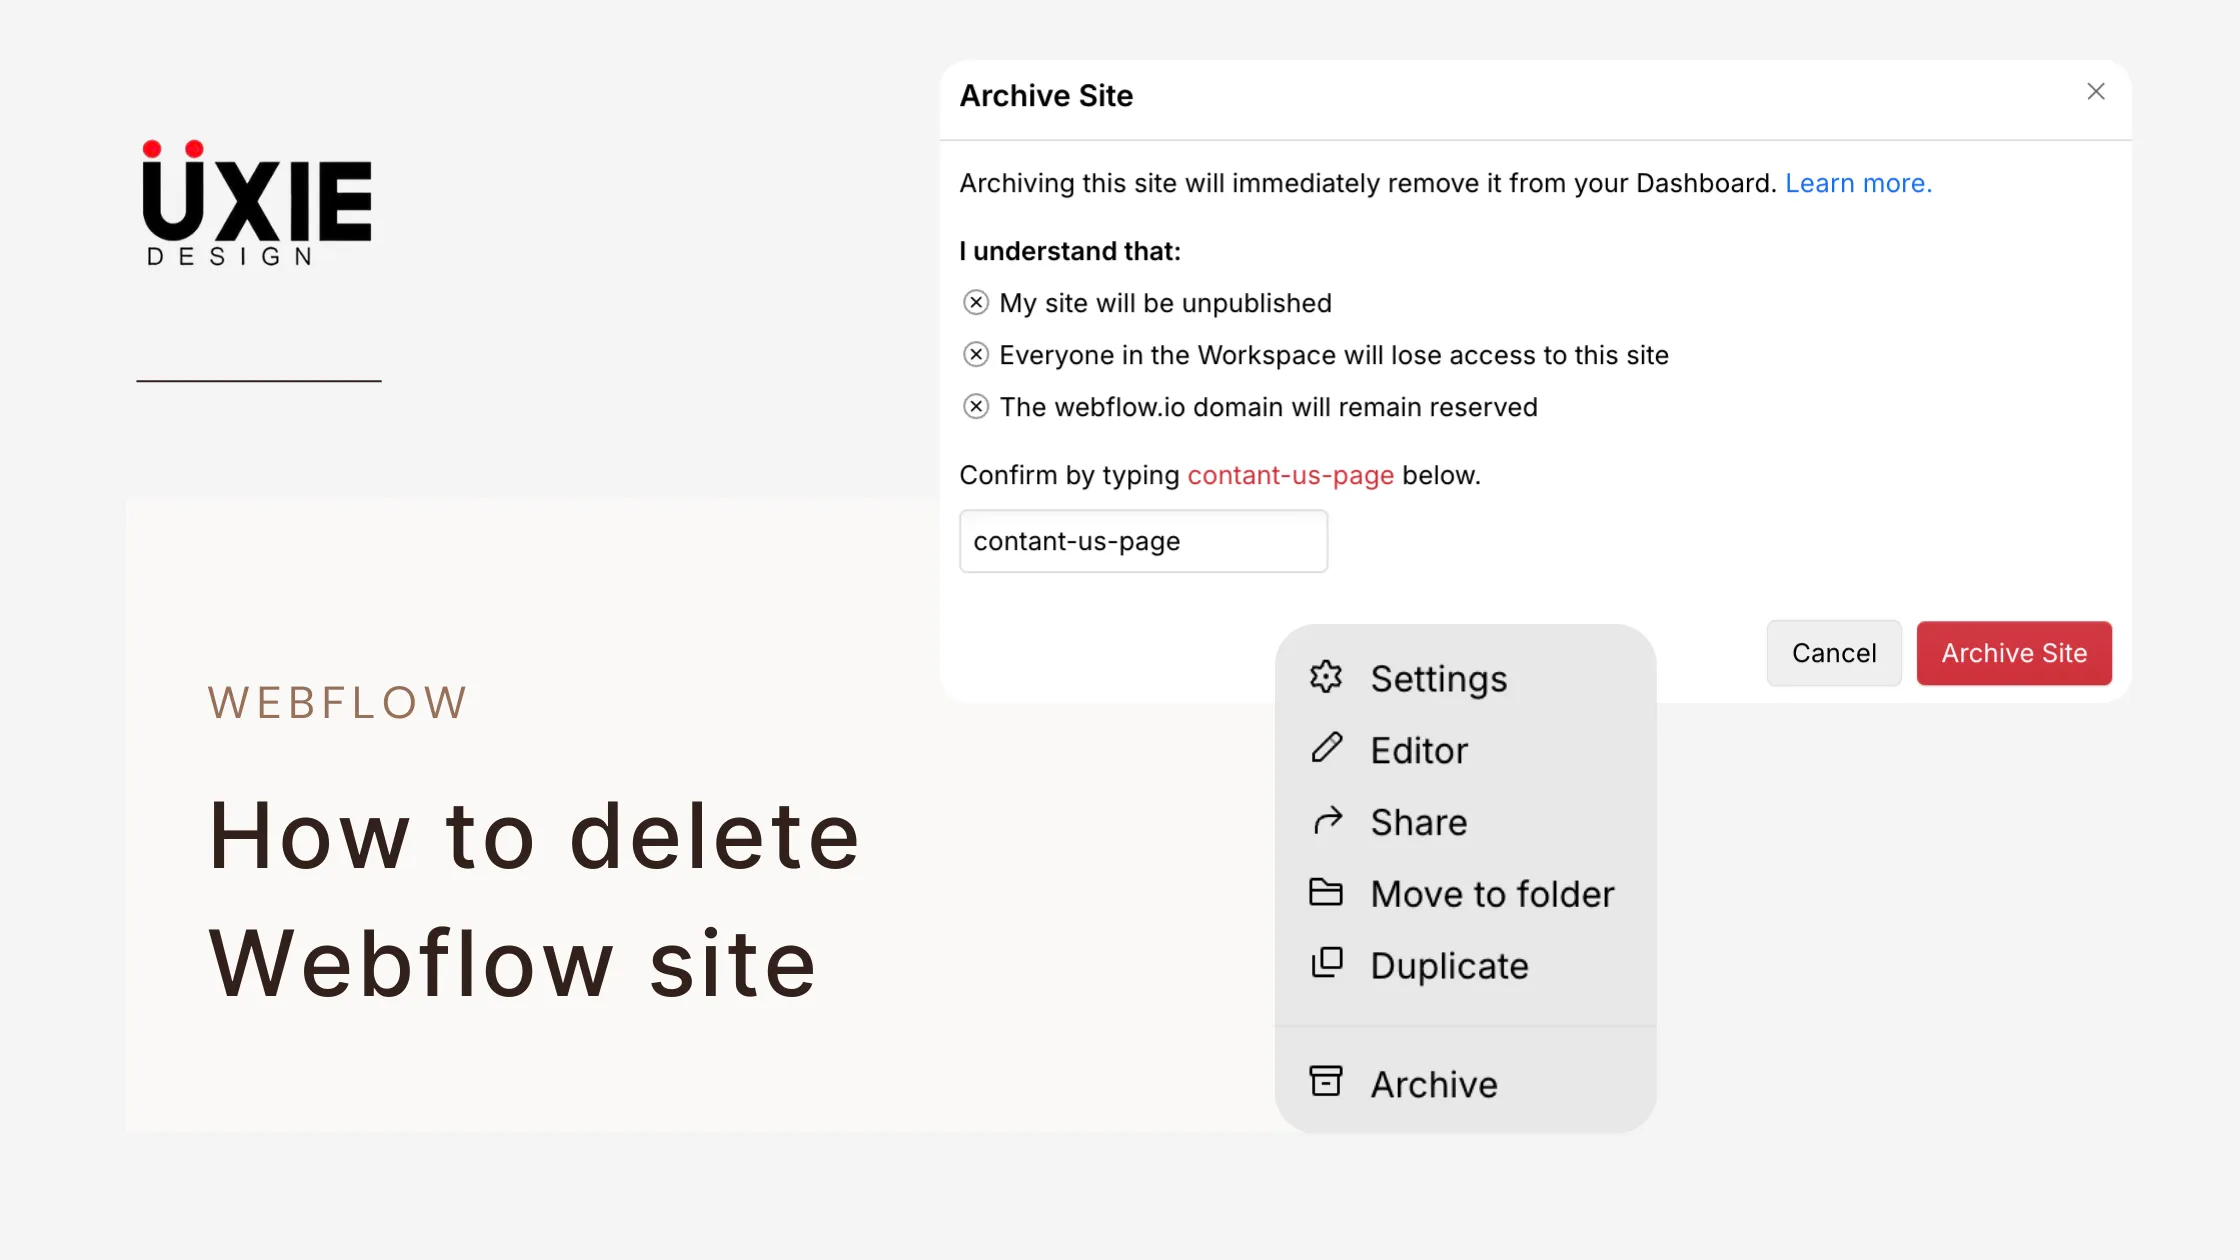
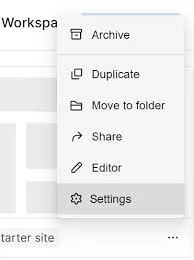
Open your site or access the three-dot menu from the main page followed by Settings selection.
Scroll Down to the Bottom of the General Tab
The default opening tab of Webflow is the General tab. Scroll all the way down.
Click on “Delete this Site”:
It will be in red text. Click it.
Confirm the Deletion
Webflow requires confirmation through typing the site name or clicking a confirmation button when you delete a site.
Deleting Pages from a Webflow Project
The site removal process enables users to remove either single pages or the complete website. A site structure reorganization becomes possible through page deletion and this method works best when your content needs updates or when you want to change your website's organization. The process of deleting individual pages from your project will be explained in the following steps.
Open the Designer
Start by logging into your Webflow account before accessing your dashboard to select Designer for the project you will modify.
Access the Pages Panel
When inside the Designer users should click the Pages icon located on the left sidebar to access static and CMS pages for editing.
Open Page Settings
Hover over the target page name followed by clicking the gear icon to open its settings overview.
Click Delete
Reaching the page settings panel scroll down to locate the Delete button followed by clicking on the red button to wipe out your selected page.
Confirm the Deletion
The confirmation popup emerges after deletion so to finish eliminating the page from your Webflow project click Delete
Deleting a Webflow Template
Log in and Locate the Template Project
Access your Webflow account and identify the template project by logging in and locating it within your dashboard.
Access Project Settings
The template project requires a click before you proceed to select Settings from the top right corner to open the general settings page for that specific Webflow project.
Scroll to the Bottom of the Settings Page
You should locate the red Delete this Site button at the bottom of the General tab page after scrolling to the very end.
Click Delete this Site
When you press the delete button, Webflow displays an onscreen alert that allows you to confirm permanent deletion of the template-based project.
Confirm Final Deletion
The on-screen instructions will guide you through either entering the site name or confirming deletion, and afterward, the template alongside the project will be erased from your account.
How to Cancel a Webflow Subscription

Dissolution of your Webflow subscription follows a different process than paid account termination. The automatic cancellation of Webflow subscriptions does not occur when you delete websites since you need to manage your subscription
separately.
Log In and Go to Billing Settings
Navigate to Web flow with your account then find the profile icon at the top right corner which leads to Billing dropdown to view subscription information.
Select the Active Subscription
Users need to access the Billing tab where they can find their active subscription that may represent either a site plan for project usage or an account plan for workspace management.
Open Subscription Management Options
Select the Manage Plan link that appears next to the subscription which needs cancellation to view all options including plan upgrade or downgrade or complete termination of your Web flow plan
Click “Cancel Plan” or “Cancel Site Plan”
Web flow enables selection of plan cancellation but enables other options to suspend your plan until you choose full cancellation in case you do not need the plan anymore.
Confirm the Cancellation Process
Use the provided prompts to finish the cancelation process. Web flow requests reasons for termination before finally ending subscriptions after subscribers confirm their decision during the subscription billing period.
Deleting Your Entire Webflow Account
Webflow provides users the ability to permanently delete their accounts with complete project and personal data removal. The process clears all projects and hosting plans together with personal information from the system database. Any crucial content needs backing up before deleting happens because the process cannot be undone. Users should deactivate their active subscriptions before initiating Webflow account removal. Users need to follow these steps for secure access to the account deletion tools which enable efficient completion of the deletion process.
Steps to delete your Webflow account
Go to Account Settings
You will find the delete account section at the end of the Account tab page displayed as red text.
Scroll to the Delete Account Section
Use the Delete Account button to begin executing account deletion procedures after which Webflow will display a warning about lost data.
Click Delete Account
The account deletion process requires following system prompts which could include entering your password and verifying your action through email to finish the permanent account removal.
Troubleshooting Webflow Website Deletion
The process of attempting to delete Webflow websites becomes frustrating when quick project removal is essential. Webflow website deletion usually runs into three common challenges which stem from active hosting requirements and permission problems and account restrictions. Knowledge about the origin of errors helps find effective solutions for their resolution. The following table shows primary issues and suitable solutions that help perform successful Webflow site deletion operations.
Issue
Solution
“Delete” button is grayed out
Cancel the hosting plan from the billing settings before deleting the site.
No delete option available
Ask the site owner or admin to delete the project.
Error message during deletion
Refresh the browser or try again after clearing cache/cookies.
Can’t delete homepage
Assign another page as homepage before deleting the current one.
Account won’t let site be deleted
Duplicate the project, set it as the active one, then delete the original.
Conclusion
You can easily delete a Webflow site although you must follow certain safety measures before executing the process. Your first step should be to terminate hosting plans because unfinished plans can result in continued payments while you should also export content and code that you wish to continue working with. User must verify the site is correct before deletion because site removal becomes irreversible. Proper protocols must be followed precisely because they eliminate obstacles to achieve a seamless experience for clean-up secondary to platform switching. The removal process for Webflow sites becomes fast, secure and user friendly with appropriate planning.
FAQ'S
How to Delete Webflow Site | 10 Second Guide
2. Where can I find the delete option in Webflow?
3. Will deleting a Webflow site also delete my Webflow account?
4. Can I recover a Webflow site after deleting it?
5. What if I don't see the delete option?
We make websites that bring joy and meet your goals.
We create digital experiences that not only capture the users but also empower businesses in a highly competitive world. We are dedicated towards developing creative solutions that will easily fuse creativity with functionality, with long-lasting effects.

