
Here is a step-by-step guide on how you can save changes in Webflow:
It's important to know that, in Webflow, most of the changes you make—such as typography, buttons, and other elements—are automatically saved.
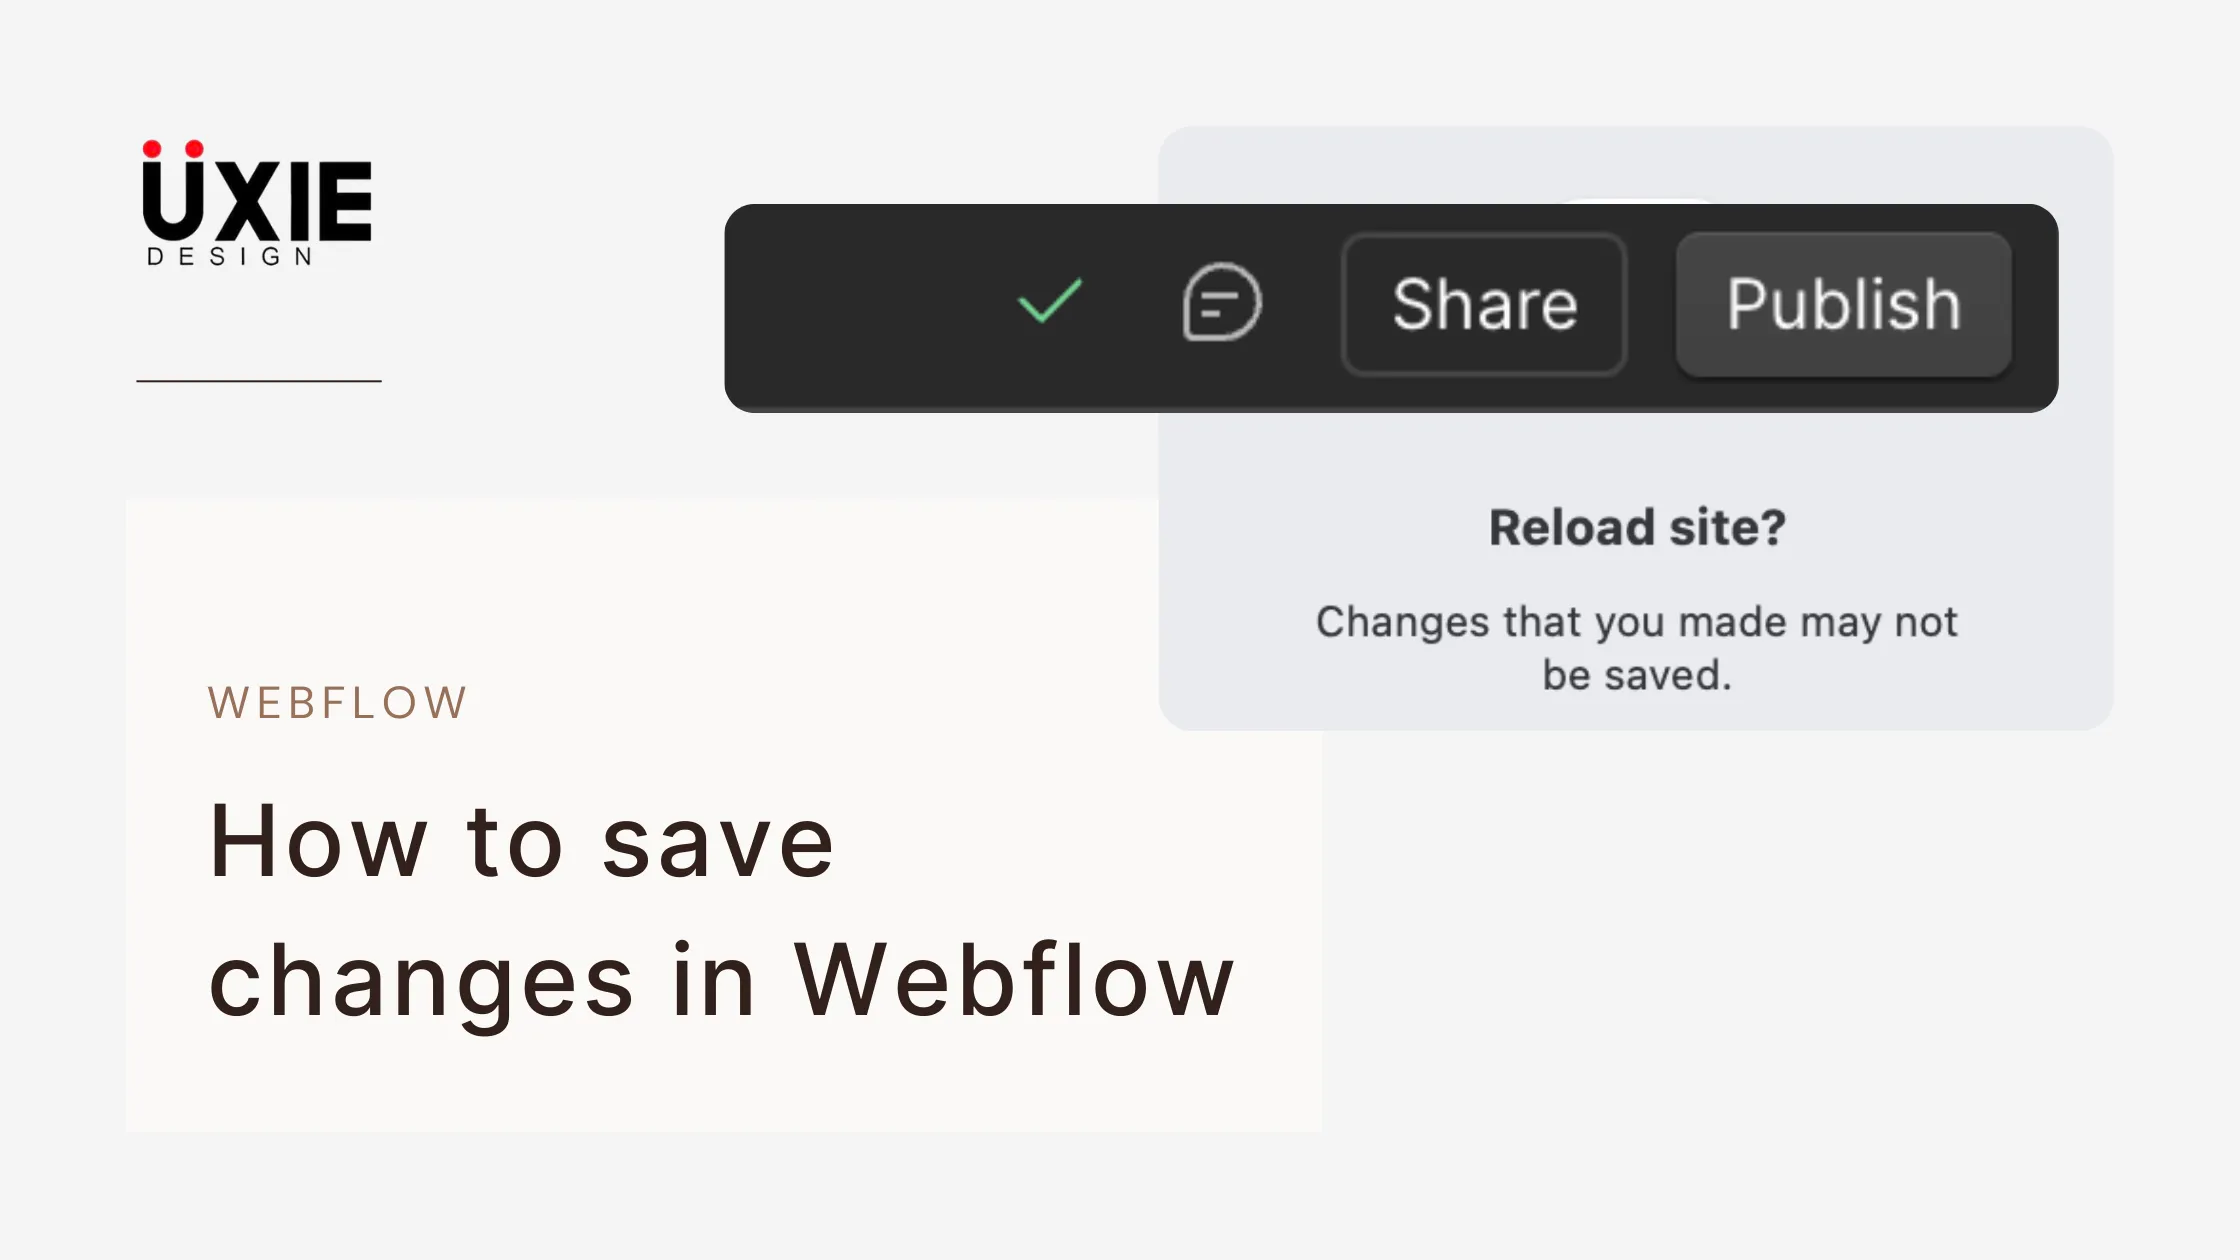
You can check the current status of your changes to see whether they have been saved by looking at the top right, beside the Publish button. A tick mark icon next to the Publish button indicates that your changes have been saved.
However, if you want to manually save your changes and progress in Webflow, you can use the shortcut Ctrl + Shift + S on a Windows computer or Command + Shift + S on a MacBook. This will create a save point, allowing you to restore your progress if needed.
To create a save point, enter a name and click Save.
To restore a saved version, go to the Settings tab in the bottom left corner. Locate the Backup option and click on it. Hover over the listed backup versions—you can either preview or restore them as needed.
FAQ'S
How To Save Changes In Webflow | 30-Second Guide
We make websites that bring joy and meet your goals.
We create digital experiences that not only capture the users but also empower businesses in a highly competitive world. We are dedicated towards developing creative solutions that will easily fuse creativity with functionality, with long-lasting effects.

